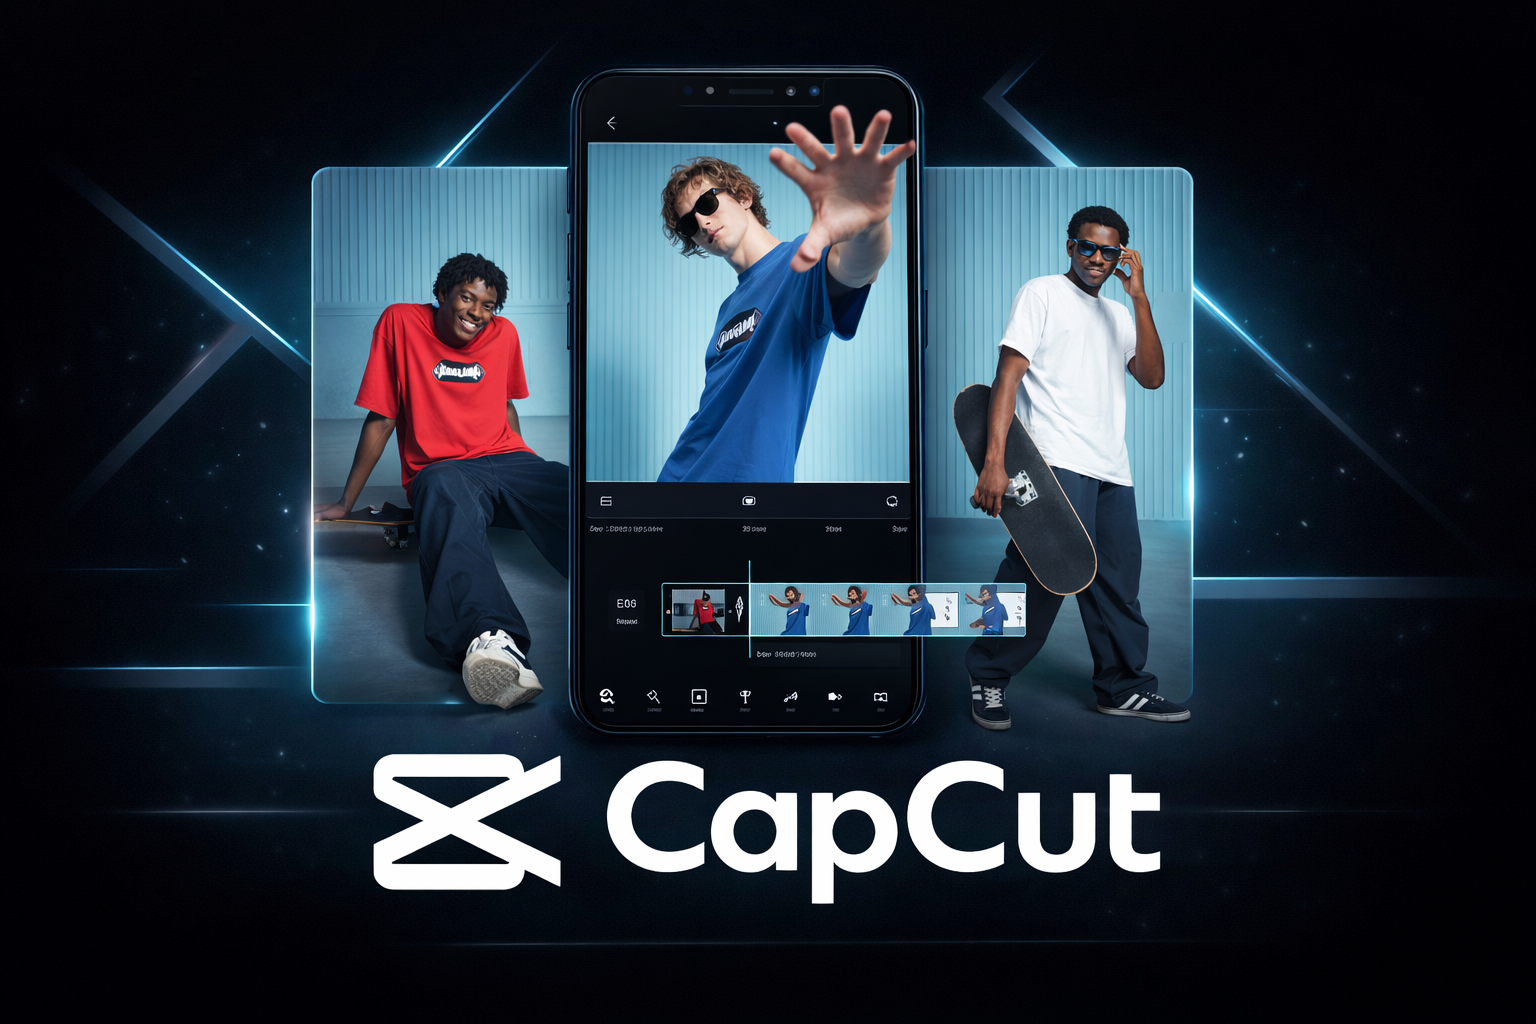
Have you ever scrolled through TikTok or Instagram and wondered how creators make those seamless transitions or perfectly timed lyric videos? You might think they’re using expensive desktop software like Premiere Pro, but more often than not, the secret is a powerful little app called CapCut.
If you’ve been struggling to make your videos look “polished,” you’re in the right place. In this guide, I’m going to show you exactly how to use CapCut to turn your raw footage into professional-grade content. Whether you’re a complete beginner or looking for advanced tricks, let’s dive into the world of effortless editing.
Why CapCut is the King of Mobile Editing
Before we get into the “how-to,” let’s talk about why everyone is obsessed with this app. Unlike other editors that hide their best features behind a massive monthly subscription, CapCut offers a robust free version that actually works.
It’s owned by ByteDance (the same folks behind TikTok), which means it’s perfectly optimized for social media trends. It’s intuitive, fast, and—most importantly—fun to use.
Getting Started: The Basics of How to Use CapCut
The first step is, of course, downloading the app. It’s available on the Apple App Store, Google Play Store, and they even have a fantastic desktop version for Windows and Mac now.
Setting Up Your First Project
Once you open the app, you’ll see a big “New Project” button.
- Tap it and select the videos or photos from your gallery.
- Hit “Add”, and you’ll be taken to the main editing timeline.
- Pro Tip: Go to the settings (the gear icon) and turn off the “Default Ending.” This prevents the CapCut logo from appearing at the end of every video you make!
Master the Interface: Understanding the Timeline
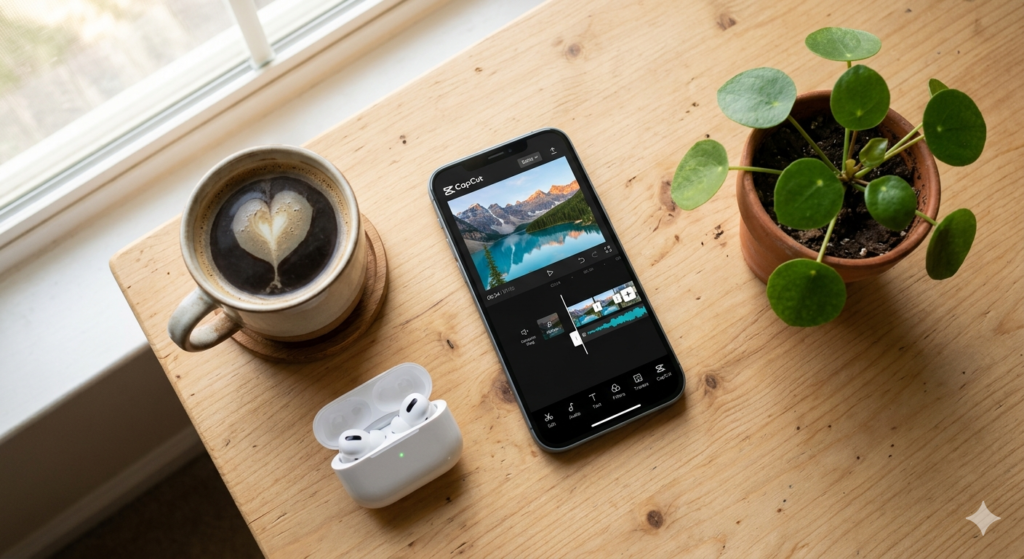
When you first look at the screen, it might seem overwhelming. Don’t worry; it’s simpler than it looks.
- The Preview Window: Where you see your masterpiece in progress.
- The Timeline: This is where the magic happens. You can pinch to zoom in for frame-by-frame edits.
- The Toolbar: Located at the bottom, this holds all your tools—Split, Audio, Text, Overlays, and Effects.
Step-by-Step: Your First Edit
Learning how to use CapCut for beginners starts with the “Split” tool. This is the most used tool in any editor’s kit.
1. Trimming and Splitting
If you have “dead air” at the start of your clip, move the white playhead line to where the action starts. Tap the clip and hit Split. You can then select the unwanted part and tap Delete.
2. Adding Transitions
To make your video flow better, look for the small white box between two clips. Tap it to open the Transitions menu.
- Pull In/Out: Great for travel vlogs.
- Blur: Perfect for a cinematic feel.
- Black/White Fade: The classic way to end a scene.
3. Inserting Music and Sound Effects
A video without sound is just moving pictures. Tap the Audio tab. You can choose from CapCut’s massive library, “extract” audio from another video in your gallery, or even record a voiceover directly in the app.
Advanced Techniques: Level Up Your Content
Once you’re comfortable with the basics, it’s time to explore the features that make CapCut truly special.
How to use CapCut templates
If you’re in a rush or want to jump on a viral trend, how to use CapCut templates is your best friend.
- Tap the “Template” tab at the bottom of the home screen.
- Search for a style you like (e.g., “3D Zoom” or “Velocity edit”).
- Tap “Use Template” and just select your photos. The app does the rest!
CapCut video editing tips for transitions
The key to a great transition isn’t just the effect; it’s the timing.
- Match Cut: Ensure the movement in the first clip continues into the second.
- Keyframes: Use the diamond-shaped icon to create custom movements. This is how creators make objects “float” or “zoom” manually.
How to remove background in CapCut
This used to require a green screen, but now CapCut’s AI does it automatically.
- Select your clip.
- Scroll the toolbar to “Remove Background.”
- Select “Auto Removal.” It works surprisingly well for people, allowing you to place yourself in any environment.
CapCut tutorial for slow motion
There are two ways to do this:
- Normal: Just slows down the footage (can look choppy).
- Smooth Slow-Mo: This uses “Optical Flow” or “Frame Blending” to make the video look like it was shot on a high-end camera. This is essential for those “aesthetic” edits.
Enhancing Your Visuals: Color Grading & Filters
Don’t just stick with the raw footage.
- Filters: Use these for a quick “vibe.”
- Adjust: This is where you control Brightness, Contrast, and Saturation.
- HSL Tool: This is a pro-level feature. It allows you to change specific colors. Want the grass to look greener or the sky bluer without affecting your skin tone? This is the tool you need.
Adding Text and Captions
In 2026, many people watch videos on mute. Captions are mandatory.
- Auto Captions: CapCut can listen to your speech and generate text automatically. It’s about 95% accurate and supports multiple languages.
- Text Templates: Use pre-designed animations to make your titles pop.
Exporting Your Video for Maximum Quality
Don’t let all your hard work go to waste with a blurry export.
- Tap the 1080p dropdown at the top right.
- Slide the Frame Rate to 30fps (or 60fps if you want that ultra-smooth look).
- Set Smart HDR to ‘on’ if your phone supports it.
- Hit the Export arrow.
5 Expert Tips for Faster Editing
- Use the Overlay Tool: This allows you to stack videos on top of each other (Picture-in-Picture).
- Edit to the Beat: Use the “Beats” feature in the audio tab to mark the rhythm of the music. It makes cutting much easier.
- Reverse It: Use the “Reverse” tool for creative “rewind” effects.
- Chrome Key: If you do use a green screen, this is the tool to pick specific colors to disappear.
- Copy Effects: You can copy an effect from one clip and paste it onto another to save time.
FAQ Section
Q1: Is CapCut free to use? Yes, CapCut is free. While there is a “Pro” version with extra features and cloud storage, the vast majority of tools—including 4K export and most transitions—are completely free.
Q2: Can I use CapCut on my PC? Absolutely! CapCut now has a dedicated desktop version for Windows and Mac that is even more powerful than the mobile app, supporting keyboard shortcuts and larger timelines.
Q3: How do I remove the CapCut watermark? You can manually delete the “Ending” clip at the end of your timeline, or go into the app settings and toggle off “Add default ending.”
Q4: Is CapCut safe for my data? CapCut follows standard industry privacy policies. However, always ensure you are downloading the official app from the App Store or Google Play to avoid modified versions that could contain malware.
Q5: Can I use CapCut for YouTube videos? Yes. You can change the “Ratio” to 16:9 in the settings to fit the standard YouTube format. Many successful YouTubers use CapCut for their entire editing process.
How to Login to CapCut with Email
To unlock the full potential of CapCut—such as cloud storage for your projects and syncing your edits across mobile and desktop—creating an account is essential. Logging in with your email is the most reliable way to ensure your hard work is never lost.
Follow these simple steps to get started:
- Open the App: Launch CapCut on your device and tap the “Me” or “Profile” icon located at the bottom right corner of the screen.
- Choose Your Method: You will see several sign-in options. Tap on “Sign in with Email” or choose “Continue with Google” for a faster setup.
- Enter Your Credentials: Input your active email address. If you are a new user, you may need to click “Sign Up” first.
- Verify Your Account: CapCut will send a 6-digit verification code to your inbox. Enter this code into the app to verify your identity and secure your account.

Internal & External Linking Ideas
- Internal Link Idea: “Check out our guide on Best Cameras for Content Creators to pair with your CapCut skills.”
- Internal Link Idea: “Learn more about Social Media Trends for 2026 to stay ahead of the curve.”
- External Reference: Check out the official CapCut Learning Center for specific technical updates.
- External Reference: Refer to Google’s E-E-A-T Guidelines to understand how we produce trustworthy content.
Final Thoughts
Learning how to use CapCut isn’t just about knowing where the buttons are; it’s about telling a story. Start simple, experiment with one new tool every day, and don’t be afraid to make mistakes.
The beauty of digital editing is that you can always hit the “Undo” button. So, grab your phone, start a “New Project,” and show the world what you’ve got!
Ready to start editing? If you found this guide helpful, feel free to share it with a fellow creator! Happy editing!